Light Sensor
An AllThingsTalk Experiment using a light sensor to measure environmental lumosity and show the result in a widget on your computer, displaying and interpreting the value in a lux scale.
For this experiment we use the Grove light sensor. It’s an ideal starter project to become familiar with the board, Grove and more importantly using the AllThingsTalk Maker to monitor and interpret real-time sensor values.
The experiment
Prerequisites
- AllThingsTalk Maker account, sign up here
- Intel XDK installed on your computer
- AllThingsTalk Node.js library downloaded and installed
Schematic and ingredients
- Intel Edison
- Arduino Breakout board
- Power supply
- Grove shield
- Grove Light sensor
- AllThingsTalk Maker account
Overview
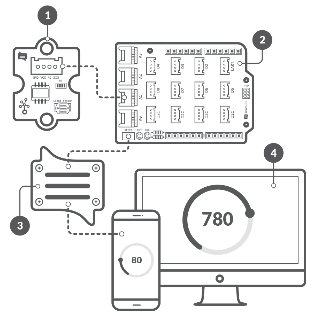
- Grove light sensor
- Intel Edison & Grove shield
- AllThingsTalk IoT Web App
- Android Device used as an IoT Device.
Basic knowledge of Intel Edison is a must have, if you’ve never used an Intel Edison before we suggest the setup guide.
Building Plan
- Collect hardware
- Attach Grove shield to the Intel Edison
- Connect the Grove Light sensor to the A0 Grove connector on the shield
- Connect the power supply to the mains and your board
Create your Device
First we need to create our device. Log in to AllThingsTalk Maker and navigate to the ground in which you want to create your device. Next follow these instructions.
If you just created a new account, you will have a default ground called playground setup for you. You can use this ground to create your devices.
Add credentials
The Intel Edison will use a node.js project which you edit using the Intel XDK. You can find the light sensor
project in the /intel/experiments/ folder of the nodejs-client-examples that you downloaded in the setup guide.
- Open the Intel XDK IoT Edition editor
- Click OPEN AN INTEL XDK PROJECT and browse to the folder containing the light sensor experiment
- Select the .xdk file and click open
- Switch to the develop tab on the top of your screen
- Right click in the area with the project files and create a new file named credentials.json with the following contents:
1 | { |
You find the device credentials under the SETUP tab of your device settings, which you can find behind the gear icon.
- Change these fields to the ones of the device you created earlier (copy and paste the ID’s as they’re case sensitive)
- Upload the project to your Intel Edison
- Run it!
Test your setup
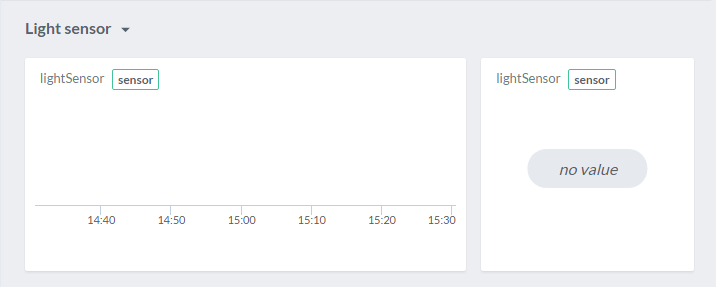
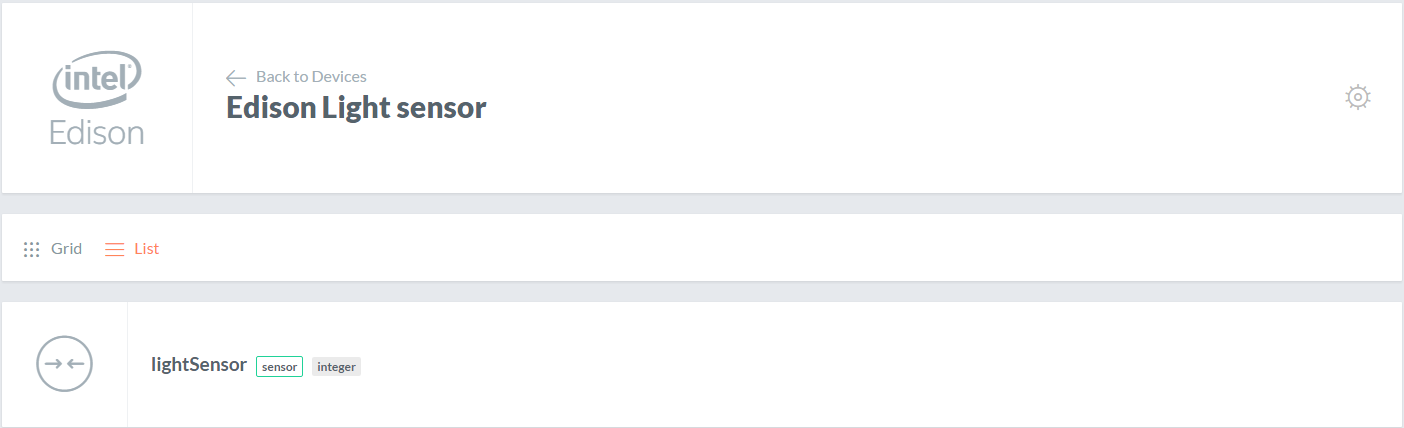
After the project has started, you should now see the asset created under your device in the AllThingsTalk Maker (you may need to refresh your browser).
It’s time to test the first part of the experiment.
- Click on the Light sensor asset
- You should see a value. Try cover the sensor and watch it change.
Next steps
Create pinboard
To visualise our date, we will create a pinboard. For more information on pinboards, please check how to use pinboards.
- Select the Pinboards icon in the top left
- Select the New pinboard icon
- Select the Arrange pinboard icon to enter the pinboard edit mode
Now we will pin a control (visual representation) for our Light sensor asset.
- Select Pin control
- Select your Raspberry Pi device and the Light sensor
- Select the Historic Chart control
- Click Pin control
Note that you can pin the same asset multiple times. For example, pin the above asset again, this time using a label control. For some extra options to customise your controls, please check the Controls page.