In this article
Smart Doorbell

An AllThingsTalk starter kit experiment to receive notifications from a doorbell on your smartphone.
Ever been in a situation where you are working in the garden and someone rings at your door but you couldn’t hear the doorbell?
If yes, then this experiment is definitely for you.
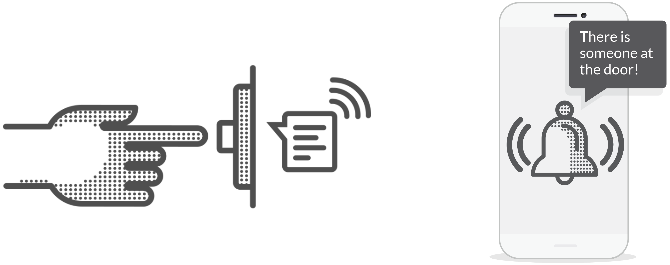
This experiment will send out a notification to your smartphone when someone pushes the button representing our doorbell. It demonstrates
how you can connect hardware, use notifications and how to integrate an Android device as an IoT device.
The experiment
Prerequisites
- AllThingsTalk Maker account, sign up here
- SD card with the AllThingsTalk library installed
- Smartphone with the AllThingsTalk Mobile app installed
Schematic and Ingredients

- Grove push button to act as our doorbell
- Raspberry Pi & GrovePi shield
- AllThingsTalk IoT Web App
- Android Device used as an IoT Device to receive a text-to-speech notification
Basic knowledge of Raspberry Pi, if you’ve never used an Raspberry Pi before we suggest the setup guide.
- Raspberry PI
- 8 GB SD card
- Power supply
- Network cable
- Grove Shield
- Grove push button
- AllThingsTalk Maker account
- An Android smartphone (to install the AllThingsTalk Makers Mobile App) (Optional)
Building Plan
- Collect hardware
- Attach GrovePi shield to the Raspberry Pi
- Connect the Grove button sensor to the D2 grove connector on the Shield
- Connect the ethernet cable to your Raspberry Pi
- Connect the power supply to the mains and your board
Create your device
First we need to create our device. Log in to AllThingsTalk Maker and navigate to the ground in which you want to create your device. Next follow these instructions.
If you just created a new account, you will have a default ground called playground setup for you. You can use this ground to create your devices.
Add credentials
Linux
When you have executed the previous task, an example of the doorbell python application is already present on your Raspberry Pi.
- Login to the RaspBerry Pi using a SSH session or via the console (username: pi and password: raspberry)
- Navigate to the raspberrypi-python-client/experiments directory
- Edit the default demo file:
sudo nano doorbell.py - Edit the script to connect to the device previously created. In the script, you will see 3 variables declared
1 | IOT.DeviceId = "" |
Copy and paste these credentails from the AllThingsTalk Maker into the script.
You find the device credentials under the SETUP tab of your device settings, which you can find behind the gear icon.
- Close and save the script. Press Ctrl+x. If asked to overwrite the file, hit Y and press Enter.
Windows 10
The Raspberry Pi will use C# applications which you write and modify on your computer.
You can find the smart doorbell application in the experiments folder of the libraries you downloaded to your computer.
- Open Visual Studio and go to the
MainPage.xaml.csfile in your project - Add your credentials
- ClientId
- ClientKey
- DeviceId
by changing the following line:
1 | _device = new Device("your client id", "your client key", _logger); |
You find the device credentials under the SETUP tab of your device settings, which you can find behind the gear icon.
- Save the application
Test your setup
Linux
- Run the doorbell program with the command
sudo python doorbell.py
If everything went ok, you should see some lines appear in the shell and after the python script has been executed, you should now see the assets created under your device in the AllThingsTalk Maker (you may need to refresh your screen).
Windows 10
- To run the C# application, make sure you set the target device correctly in Visual Studio. Do this by entering the IP-address of your device as seen below.

Now simply hit Run and your application will start. You should now see the assets created under your device in AllThingsTalk Maker.

It’s time to test the first part of the experiment. Click the button to initiate it. It will now show true or false depending on whether the button is down or not.
As a last step, we will create a pinboard for a nicer visualisation of our asset.
Next steps
Create pinboard
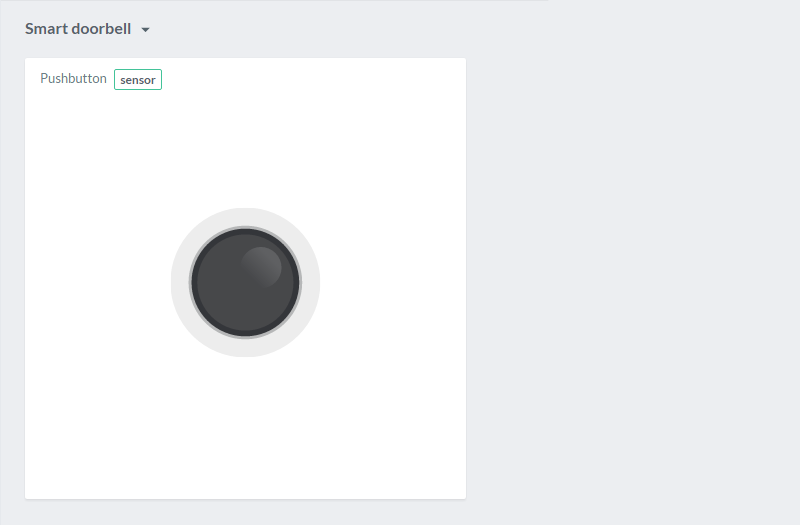
To visualise our date, we will create a pinboard. For more information on pinboards, please check how to use pinboards.
- Select the Pinboards icon in the top left
- Select the New pinboard icon
- Select the Arrange pinboard icon to enter the pinboard edit mode
Now we will pin a control (visual representation) for our Push button asset.
- Select Pin control
- Select your Raspberry Pi device and the Push button
- Select an on-off control for our Push button
- Click Pin control

Receive a ground notification
To receive ground notifications, simply turn them on in the ground. You can do this as follows:
- Enter the details menu of your ground
- Turn on ground notifications

You will now receive a notification every time something in the ground changes. You can view these notifications both in the AllThingsTalk Maker
and AllThingsTalk Mobile!
