In this article
Light Sensor
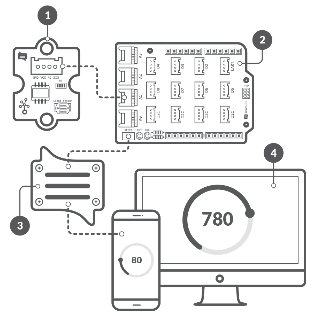
In this example we will connect the Grove Light Sensor to your Arduino to measure environmental lighting and display the result in AllThingsTalk Maker.
Prerequisites
Hardware
- Arduino (or Arduino compatible) board with ethernet port
- Arduino Grove shield
- Grove Light sensor
Software
- AllThingsTalk Maker account; sign up here
- Arduino IDE installed
- AllThingsTalk Arduino SDK installed
This example is part of the arduino-sdk and can be found in the examples folder. If you already ran the basic example on the previous page, you have everything installed to get started right away!
Setup
Hardware

- Attach the Grove shield to your Arduino
- Connect the Grove Light sensor to the A0 Grove connector on the shield
- Connect your Arduino to the internet with an ethernet cable
- Connect the power supply to the mains and your Arduino board
- Connect the Arduino to your computer using USB
Create a device
In your Arduino IDE under File > Examples > ATT_IOT open the light-sensor example sketch
If you did the basic example on the previous page, you can re-use the same device and credentials.
If not, please check the create a device and enter credentials sections on that page.
Run the example
Simply hit the upload icon in the Arduino IDE. This will save the sketch, compile it and upload it to your Arduino.
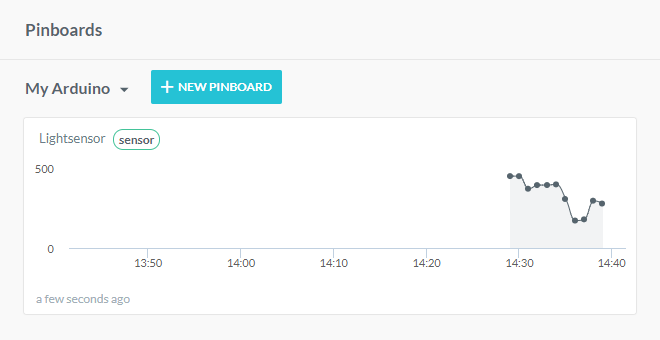
If all went well, a Light asset is created under your device in AllThingsTalk Maker and values start rolling in.
Alternatively, you can also open the Tools > Serial monitor of the Arduino IDE. This can be very useful when debugging your own sketches.
- Make sure you select the correct COM port to listen (under Tools > Port )
- When the monitor is open, make sure the Baud rate is set to 9600
Next steps
Create pinboard
Upon running the example, all needed assets are created. We can now use those to create a pinboard to visualise them.
- On your device page hit the + CREATE PINBOARD button
- Edit the control to your liking
If you chose a (historical) chart, make sure you have Data Storage turned on!

