In this article
Arduino

This tutorial will help you set up your first working Arduino experiment. Simply follow these steps as you go. We will use the arduino-client/examples/iot_demo/iot_demo.ino of the AllThingsTalk Arduino client as our first example.
Software setup
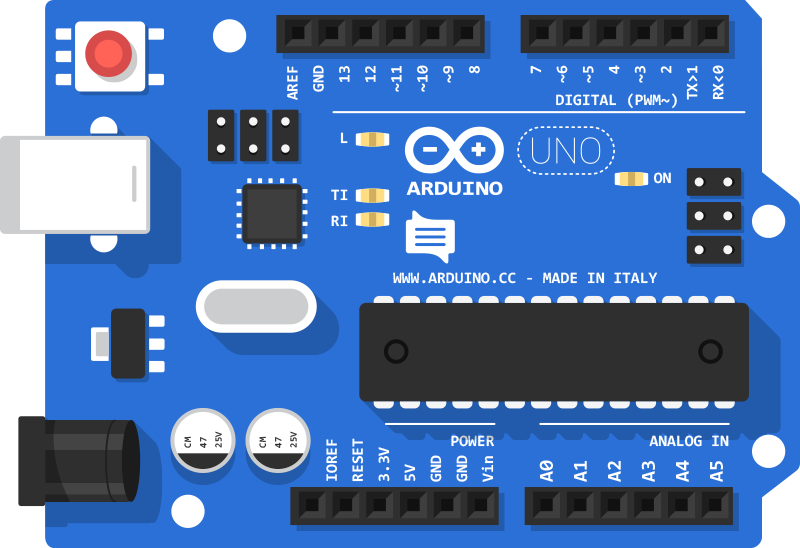
Starter kits use two different boards
- Arduino Ethernet (obsolete since November 2015)
- Leonardo Ethernet
Differences
- To connect to your computer with a USB cable, the Arduino Ethernet needs a serial to usb converter
- Library to connect to ethernet
- Arduino Ethernet uses
ethernet.h - Leonardo Ethernet uses
ethernet2.h
- Arduino Ethernet uses
Prepare the environment
Download and install the correct IDE.
- Arduino Ethernet - arduino.cc
- Leonardo Ethernet - arduino.org
Install AllThingsTalk library
- Download the AllThingsTalk Arduino client from our download page
To install, unzip the downloaded file and open your Arduino IDE.
Under Sketch > Include library > Add .ZIP library, enter the arduino-client-master/library folder and select the library you want to add.
Repeat this for both libraries
- ATT_IOT
- pubsubclient
You can also unzip the file and copy the contents directly to the
librariesfolder of your Arduino IDE.
You are now ready to use your Arduino with AllThingsTalk!
Our first program
Prerequisites
- AllThingsTalk Maker account, sign up here
- Arduino IDE installed
- AllThingsTalk Arduino library installed
Ingredients
- Arduino board
- Grove shield
- LED
- Potentiometer (Rotary knob)
Building plan
- Collect hardware
- Attach Grove shield to your Arduino
- Connect LED to D4
- Connect Potentiometer to A0
- Connect the Arduino to your network with an ethernet cable
- Connect serial to USB adapter to the Arduino
- Connect adapter to your computer with a USB cable
Create device
First we need to create our device. Log in to AllThingsTalk Maker and navigate to the ground in which you want to create your device. Next follow these instructions.
If you just created a new account, you will have a default ground called playground setup for you. You can use this ground to create your devices.
Copy sketch
Open the sketch in your Arduino IDE!
In case you have multiple devices running, change the MAC-address in the sketch to make sure they don’t interfere with eachother. Normally this should be printed on a sticker on the back of your Arduino like
90-A2-DA-0F-C9-4D.
Adapt this line in the codeByte mac[] = { 0x90, 0xA2, 0xDA, 0x0F, 0xC9, 0x4D };
We are now ready to upload and run our sketch!
Test the demo sketch
- Save, upload and run the sketch
You can now watch the values change in AllThingsTalk Maker. Toggle the LED or turn the potentiometer and see what happens.
Alternatively, you can also open the Tools > Serial monitor of the Arduino IDE. This can be very useful when debugging your own sketches.
- Make sure you select the correct COM port to listen (under Tools > Port )
- When the monitor is open, make sure the Baud rate is set to 9600
That’s it! You just made your first working IoT prototype!
Troubleshooting
So something has gone wrong. It happens. Here’s a few things that can you help you find what’s happening.
Error uploading the sketch
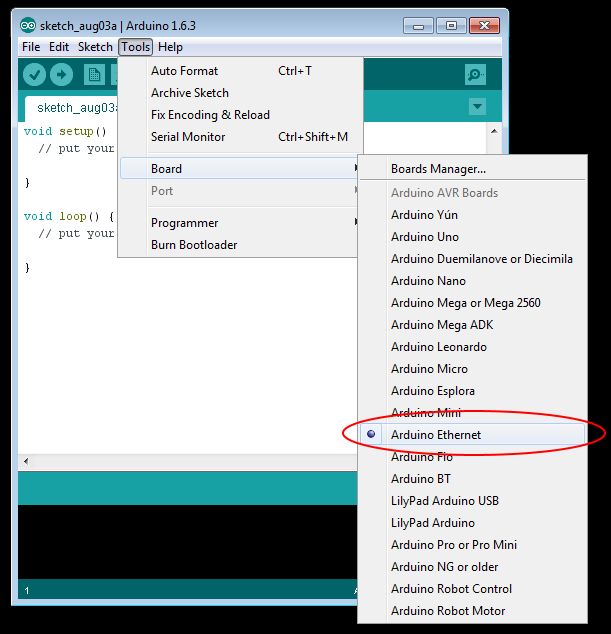
Make sure you have selected the correct board in your Arduino environment. It should be set to Arduino Ethernet.
To check and change this, in the Arduino application go to the menu and select Tools -> Board

If you have used another board, make sure you adapt your selection.
Make sure you have selected the correct serial port. In the Arduino application go to the menu and select Tools -> Serial Port and select the port your Arduino is connected.
Arduino IDE monitor does not show data
Check your network connection - Are you connected to the internet? Are the network LEDs flashing on your Arduino? Can you ping your device?
Check your Arduino environment - Is the Arduino connected correctly, did the sketch upload went well?
Assets are not created
Verify the unique ID’s in your sketch. Make sure they identical to the ones in AllThingsTalk Maker.
1 | char deviceId[] = ""; // Your device id comes here |
Data is not shown from my sensor or I can’t control my actuators
- Verify if sensors and actuators are connected to the correct ports and correspond with the ports defined in the sketch, for example
1 | int doorbell = 8; |
- Check if you are sending the data in the correct format, as specified when defining the assets.
1 | Device.AddAsset(doorbell, "Doorbell", "Doorbell button", false, "boolean"); |
Asset is created as a boolean, so value sent should be true or false.
