In this article
LoRa SODAQ ONE
This tutorial will help you set up your environment and explain how to get a first project up and running using the LORAWAN™ based Track-and-Trace device. We will use the pushbuttondemo.ino of the AllThingsTalk LoRaWAN™ Track-and-Trace application as our first example project.
Using the basics covered in this tutorials, you have all the building blocks to start writing your own LoRa applications.
Software setup
- Install Arduino IDE and SODAQ ONE support
- Install AllThingsTalk LoRa™ libraries
Set up your client environment
How to set up the Arduino IDE and SODAQ ONE
Install AllThingsTalk LoRa™ libraries
How to install Arduino SODAQ ONE libraries
Our first LoRa™ project
Our first program will consist of a single push button, which is one of the available sensors on the LoRaWAN™ based Track-and-Trace device. You can find it in the middle of the PCB. We will use the button as a toggle, turning the Binary sensor in the AllThingsTalk cloud on and off with each push.

Create device
Check here for more info on how to create and connect your LoRa device.
Setup sketch
- Connect the Track-and-Trace device with the USB cable to your computer
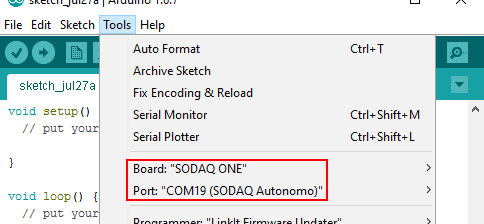
- Open the Arduino IDE and select the proper board and port
- Go to Tools > Board: and select the SoDAQ LoRaONE board
- Under Tools > Port select the USB port on which your device is connected

- Open the
pushbuttondemo.inosample sketch from theatt-arduino-lorawan-trackandtrace/examples/demos/pushbuttondemofolder in your Arduino IDE.
This should open the pushbuttondemo.ino file as well as an empty keys.h file. The latter will be used to provide us with the device credentials.
1 | uint8_t DEV_ADDR[4] = {}; |
You can also open the pushbutton example directly from the Arduino IDE by going to
File > Examples > att-arduino-lorawan-trackandtrace-master > demos > pushbuttondemo
Add device keys
Get your device keys from AllThingsTalk
Add these keys to the keys.h file of your sketch. It should now look similar to this
1 | #ifndef KEYS_h |
These keys however are unique for your device, meaning the
keys.hfile will be the same for all projects. You can copy it to your harddisk once and copy it from there to your project folder each time.
Test the demo sketch
- Upload and run the sketch
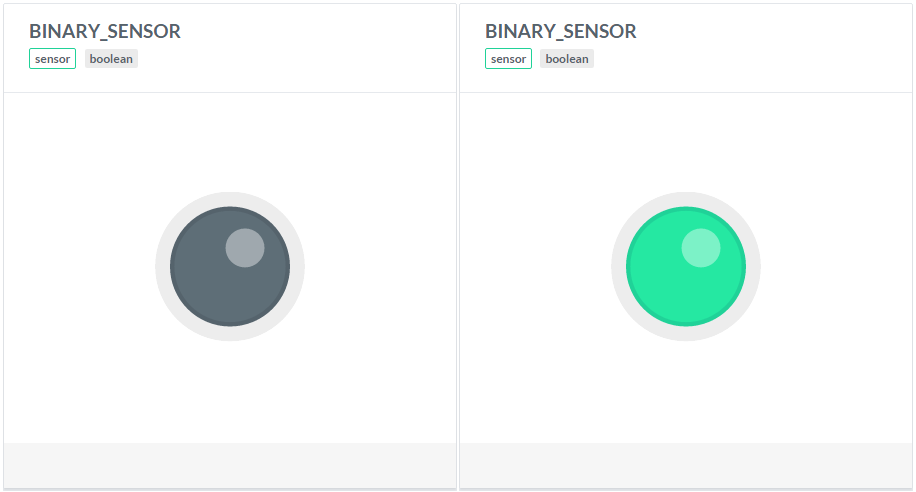
We are now ready to try out our demo! Push the button and watch the graphical LED change in the platform.
If you don’t see your BINARY button asset, refresh your browser!
Serial Monitor
Apart from the AllThingsTalk Developer Cloud, we can also monitor traffic from the Arduino IDE using the serial monitor.
- Open the Tools > Serial monitor of the Arduino IDE
- Make sure you select the correct COM port to listen (under Tools > Port )
- When the monitor is open, make sure the Baud rate is set to 57600
