In this article
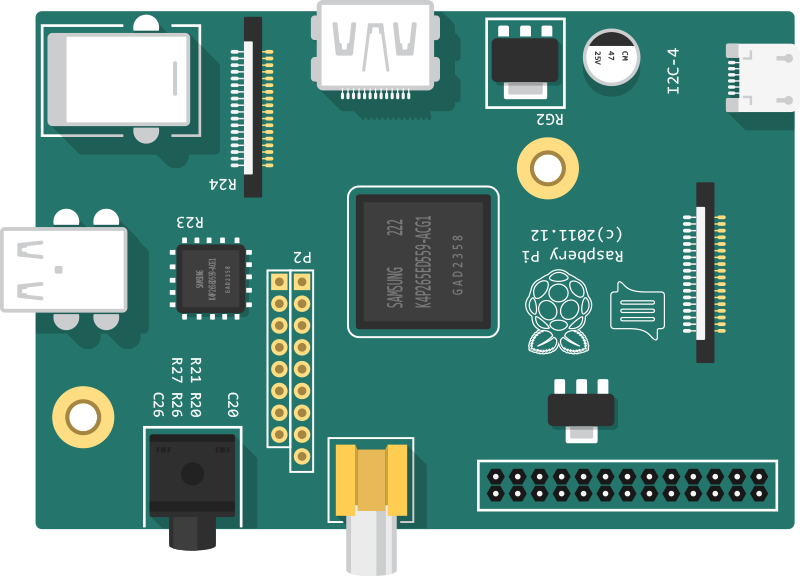
Raspberry Pi

This step by step guide will help you set up your first working Raspberry Pi experiment. It will show how to send data from your Raspberry Pi to the AllThingsTalk cloud.
Prerequisites
Hardware
- A Raspberry Pi
- A 8GB SD card
Software
- AllThingsTalk Maker account; sign up here
- AllThingsTalk Python SDK installed on your Raspberry Pi
No need to install the sdk if you are using the AllThingsTalk Raspberry Pi kit. The SD card comes pre-installed. If you are using your own Raspberry Pi, you can clone the AllThingsTalk SDK to it using
git clone git://github.com/allthingstalk/python-sdk.git. Next install the sdk by browsing to the foldercd python-sdkand thepip3 install .command.
- PuTTy (or similar tool) to set up a SSH connection with the Raspberry Pi
An alternative to using a SSH client is hooking up a screen and keyboard to your Raspberry Pi.
Our first program
Create a device
First we need to create our device.
- Log in to AllThingsTalk Maker
- Navigate to the ground in which you want to create your device
If you just created a new account, you will have a default ground called playground. You can use this ground to create your device or create a new ground if you want.
- Hit the + CONNECT A DEVICE button
- Select WIFI / LAN devices
- Select Raspberry Pi
Enter credentials
Next we need to add the credentials of our device (deviceid and authorization token) to our example application, so it knows where to send its data. You can find them under SETTINGS > Authentication of the device you just created.
- Log in to your Raspberry Pi; make sure it is powered and the SD card is insterted
- the default username and password are
pi andraspberry respectively
- the default username and password are
- Browse to the python sdk examples folder;
cd python-sdk/examples - Open the counter.py example;
sudo nano counter.py - Enter the credentials in the application
1 | DEVICE_TOKEN = 'maker:8hQT2IQm1cLsW1VeVqyzg7zhJNGabCyrIbw1XCN1' |
- Ctrl-X > Y to save and quit
We are now ready to run our application!
Run the example
Run the application with the command python3 counter.py
If all went well, a counter asset is created under your device in AllThingsTalk Maker, counting from 0 till 9.
That’s it! You just made your first working IoT prototype!
More examples
As a next step, please try these basic experiments connecting the Grove sensors and actuators from the kit
Grove sensors
For more info on Grove sensors and Actuators as found in the AllThingsTalk kit, please check our Sensors and Actuators page.
